Okay I know it is not St. Paddy’s Day but this is one of my favorite recipes. I decided to make a batch this weekend because we are having a party at our house and wanted to have a homemade “sweets table” for our guests. Of course, I want it all gluten free for two reasons. First, and most importantly, I want to enjoy the treats and not worry about cross contamination! Secondly, I love proving to people that gluten free can be yummy. Now I wouldn’t necessarily do this for just any party, but some of the guests have celiac disease as well so I know that it will be appreciated by them! Oh and just a tip- if you decide to do bulk baking for parties or the holidays- Costco carries Namaste Perfect Blend Gluten Free Flour in HUGE bags. Woohoo!Soda bread is generally a “heavy bread” so this recipe works well gluten free since the flour usually tends to make things a bit heavier.
When you are ready to serve your bread, you can serve it with some butter as well. I usually heat it in the microwave for 10 seconds or so just to warm it up so the butter will melt. Clearly this won’t help your diet or healthy eating lifestyle, but sometimes you need to indulge!
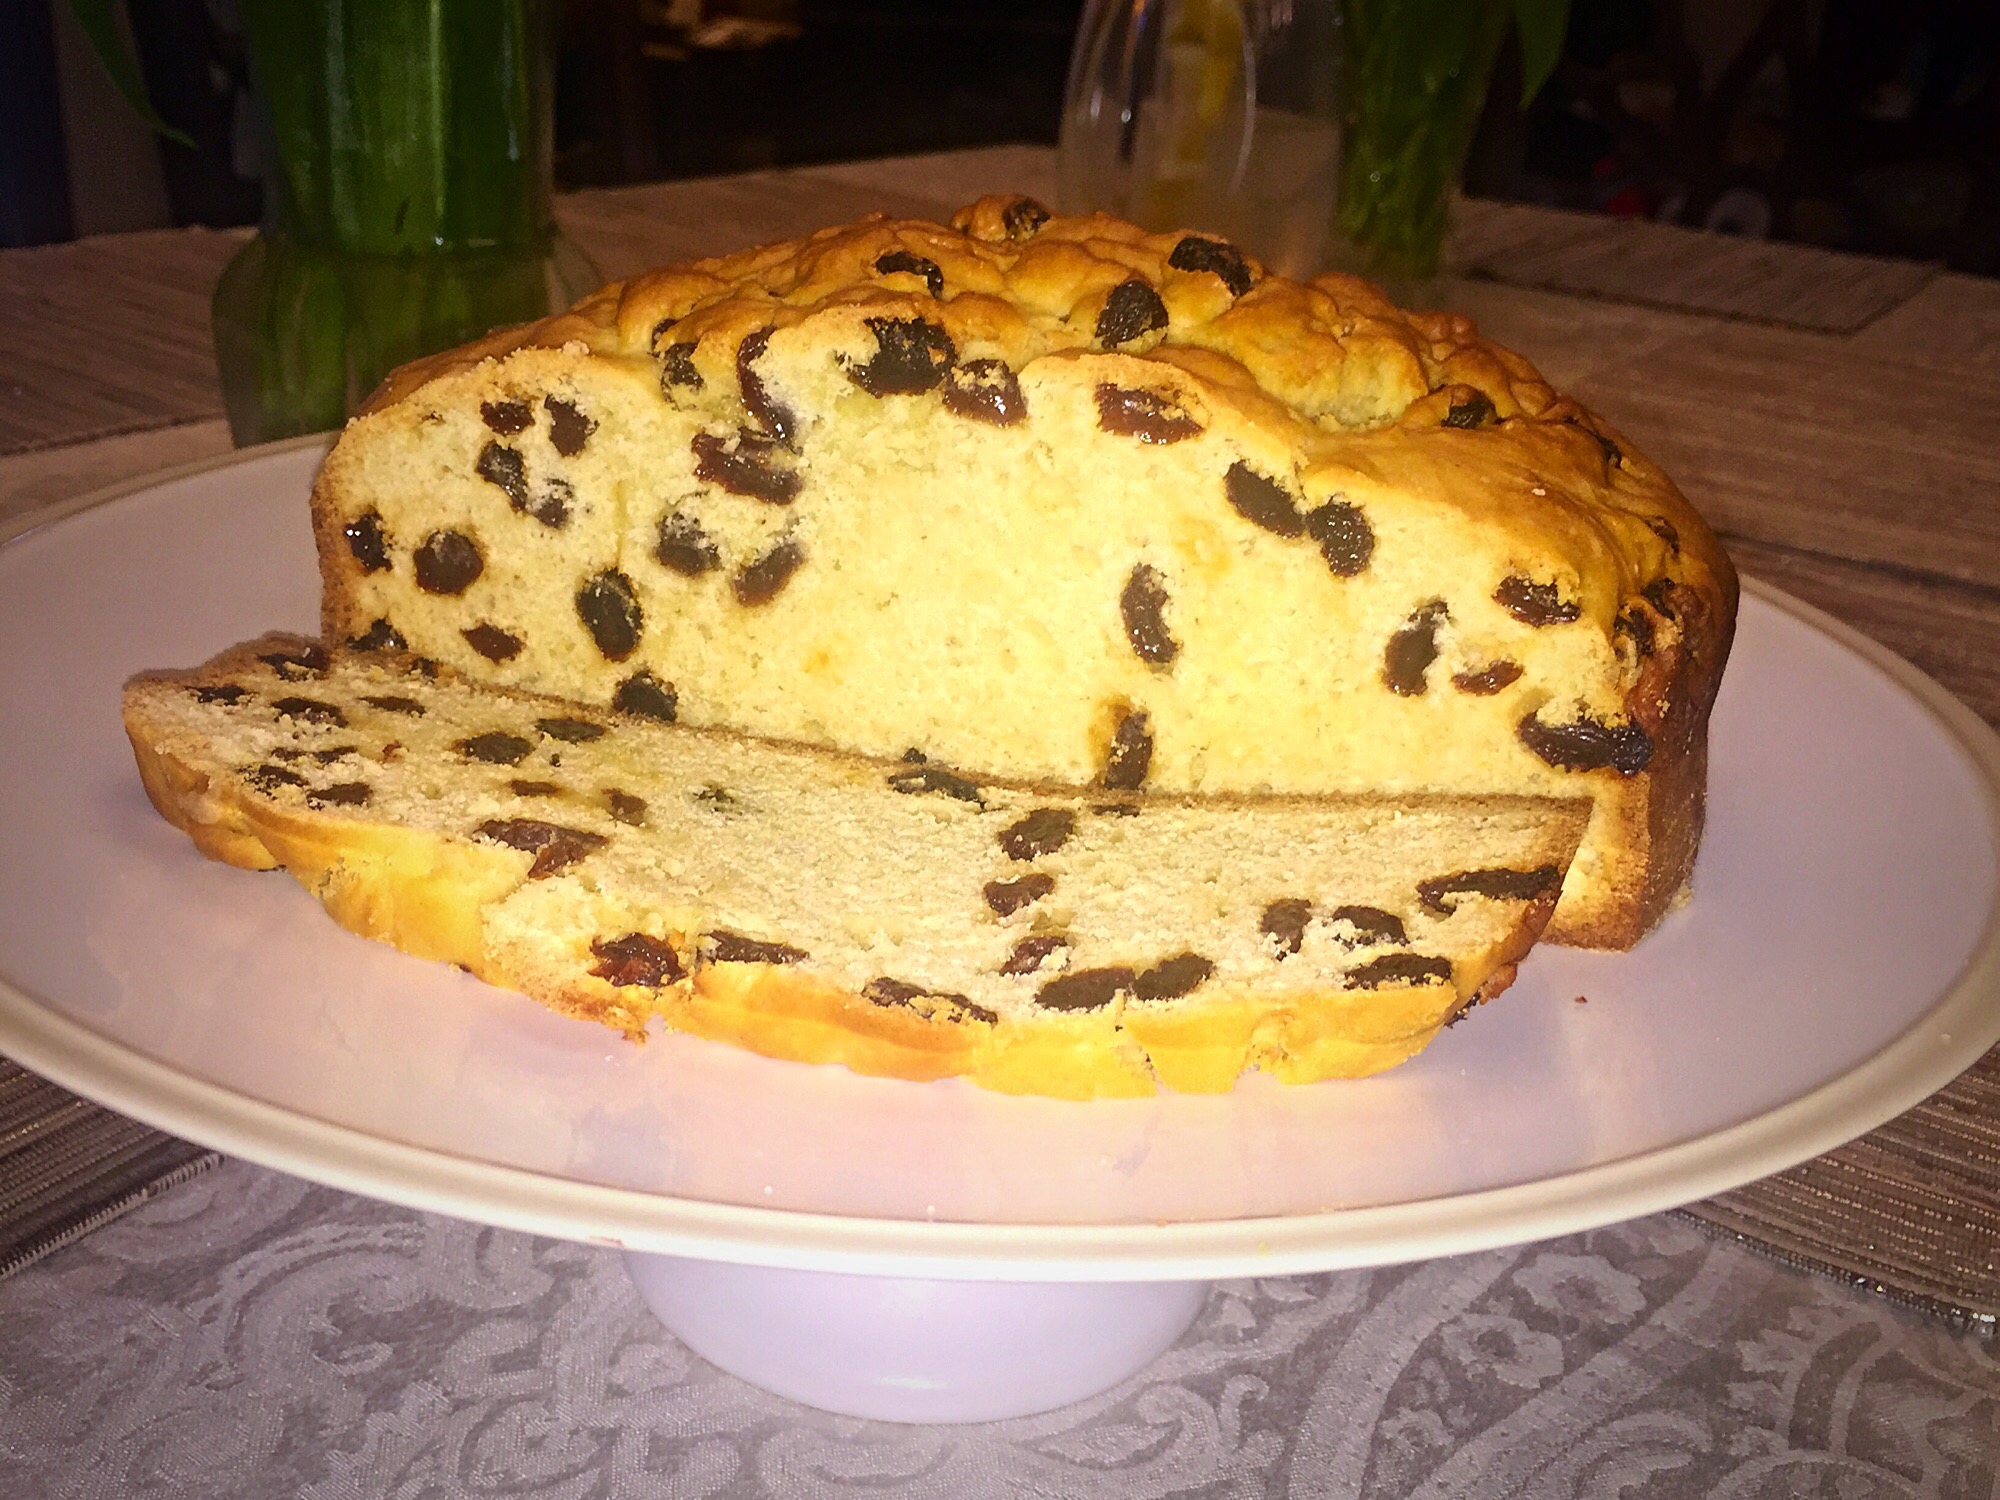
Sweet Irish Soda Bread
- 5 cups of flour
- 1 ¼ cup sugar
- 2 ½ tsp baking powder
- ½ tsp salt
- 1 tsp baking soda
- ½ cup butter, softened
- 2 ½ cups raisins
- 2 ½ cups buttermilk
- ½ cup heavy cream
- 1 large egg
- Preheat oven to 350 degrees.
- Butter and flour a large cake pan (I use a large sprinform pan as this recipe is pretty big, but I also use two small cake pans occasionally to make smaller loaves)
- In a large bowl, combine your gluten free flour, sugar, baking powder, baking soda, and salt.
- Add raisins and mix again. This will help break up the raisins a bit so they are not in huge clumps since they tend to stick together.
- Add softened butter, eggs, buttermilk, and heavy cream slowly until well incorporated. To make this easier you can mix the wet ingredients together and then slowly pour them into the wet ingredients while mixing. Be careful to not over mix!
- Pour into your floured pan.
- Bake for 60-75 minutes, or until a toothpick comes out clean from the center of the loaf. If you made smaller loaves make sure you start checking them around 45 minutes because they will take less time to cook!
- Allow the bread to cool for 10-15 minutes before removing from the pan. Ideally you would then let it finish cooling on a wire rack, but I’ll be honest. I tend to dig in right about… NOW.
Enjoy!
xoxo
